Set up IMAP email account on an iPhone
Please make sure that if you are setting up the same email address on multiple devices like iPhone, iPad and computer you should set up an IMAP email accounts on all your devices
Before you start:
- Please ensure you know your email user name (this is usually the full email address) and password.
- Italicised text is used throughout this guide to demonstrate example settings. This should not be copied directly!
Apple iPhone
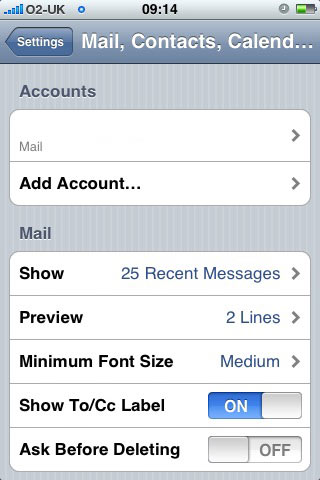
- If this is the first account you’re setting up on the iPhone or the iPod Touch, tap Mail. Otherwise, from the Home screen choose “Settings > Mail > Accounts > Add Account…”.
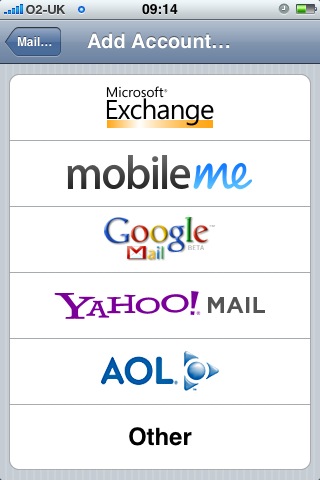
- By tapping the option at the bottom of the list, set the account type as “Other”
- Then input the following information:
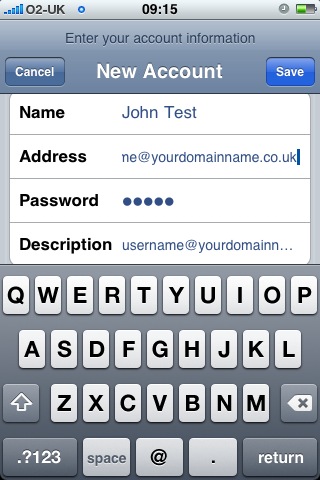
- Name – this is the name you want to associate with the e-mail address. It is what people who receive your e-mails will see as who sent the mail
- Address – the e-mail address that you are going to be using (e.g. info@yourdomainname.co.uk)
- Password – The password will also have been supplied to you, please note the password is case sensitive.
- Description – A description so that you can identify your account (e.g. info@yourdomainname.co.uk)
- And tap SAVE.
- Next, select the server type – IMAP – by tapping the option on the left
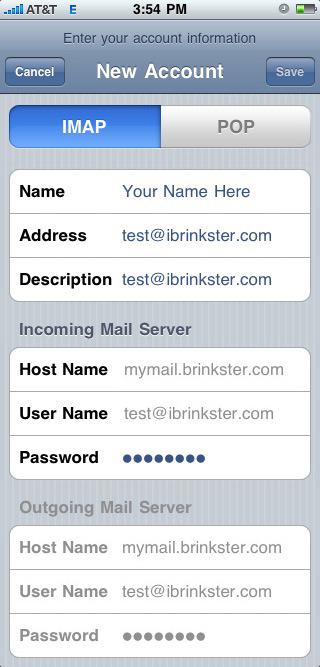
- Then input the following account information for the Incoming Mail Server:
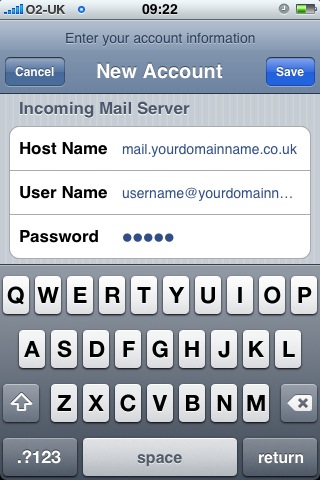
- Host Name - In the same way that your website with us is found at www.yourdomainname.co.uk the Host Name needs to be set to mail.yourdomainname.co.uk
(Please do not enter any @ symbols into the server address box).
- User Name – This will be the user name you were given when the account was created (usually the full email address for the account, complete with @ symbol)
- Password – The password field has been completed from your earlier entry.
- Input the same information for the Outgoing Mail Server, exactly as you have entered for the Incoming Mail Server, including the password.
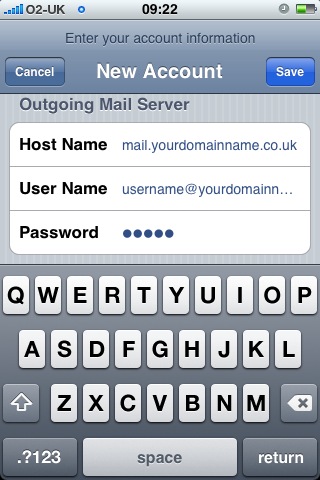
- Then tap SAVE.
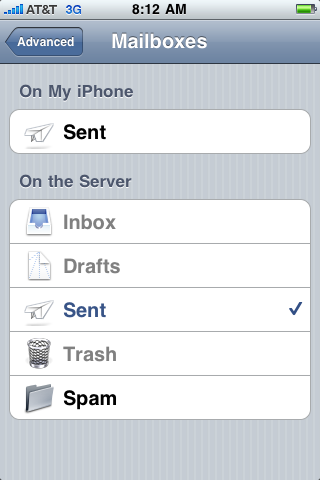
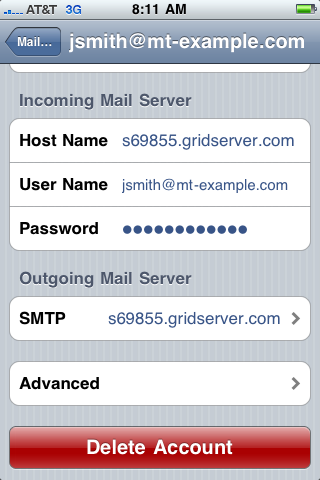
- Upon successful completion, you will be taken back to the Mail Settings screen. You will still need to configure your folders since you are using IMAP. Select your newly created account and enter the Advanced section:
- Change your IMAP Path Prefix from / to INBOX:
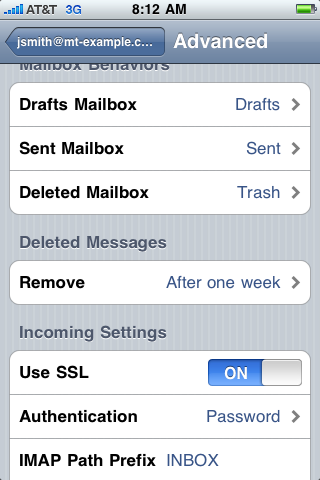
- Now you will be able to choose the Drafts, Sent, and Deleted folders on the server. This way your folders will be in sync no matter where or how you access your email. Just choose each Mailbox on the same Advanced screen and select the matching folder on the server: